Building a compact Raspberry Pi 5 "PC"
Introduction
In this post, I will be covering the process of how I built a palm sized PC using the Raspberry Pi 5. And its going to boot from NVMe ssd. I think its compact and cool.
When RPI 5 got launched, out of all the features I was really excited about the dual camera ports, still looking forward to plugging dual cameras for some stereo use cases
Bill of materials
Official R-Pi components
Waveshare components
- 27W USB Type-C Power Supply, PD Power Supply, Suitable for Raspberry Pi 5 - Buy Link - $8
- Clear Acrylic Case for Raspberry Pi 5 (Supports installing Official Active Cooler) - Buy Link - $4
- PCIe To M.2 HAT+ for Raspberry Pi 5 - Buy Link - $9
Others
- EVM 256GB 2242 NVMe SSD - $22
- Micro SD Card 32GB (min) (not needed if you can burn RPi OS directly to SSD)
So the BOM totals about ~ $130
And some peripherals for HMI
- Monitor
-
Keyboard and Mouse
Hardware assembly
Its pretty straight forward
| Slot the Active cooler on the Raspberry Pi and attach the power + pwm cord | Start assembling the acrylic case keeping the Rpi in center, Attach the stoppers provided to base. |
|---|---|
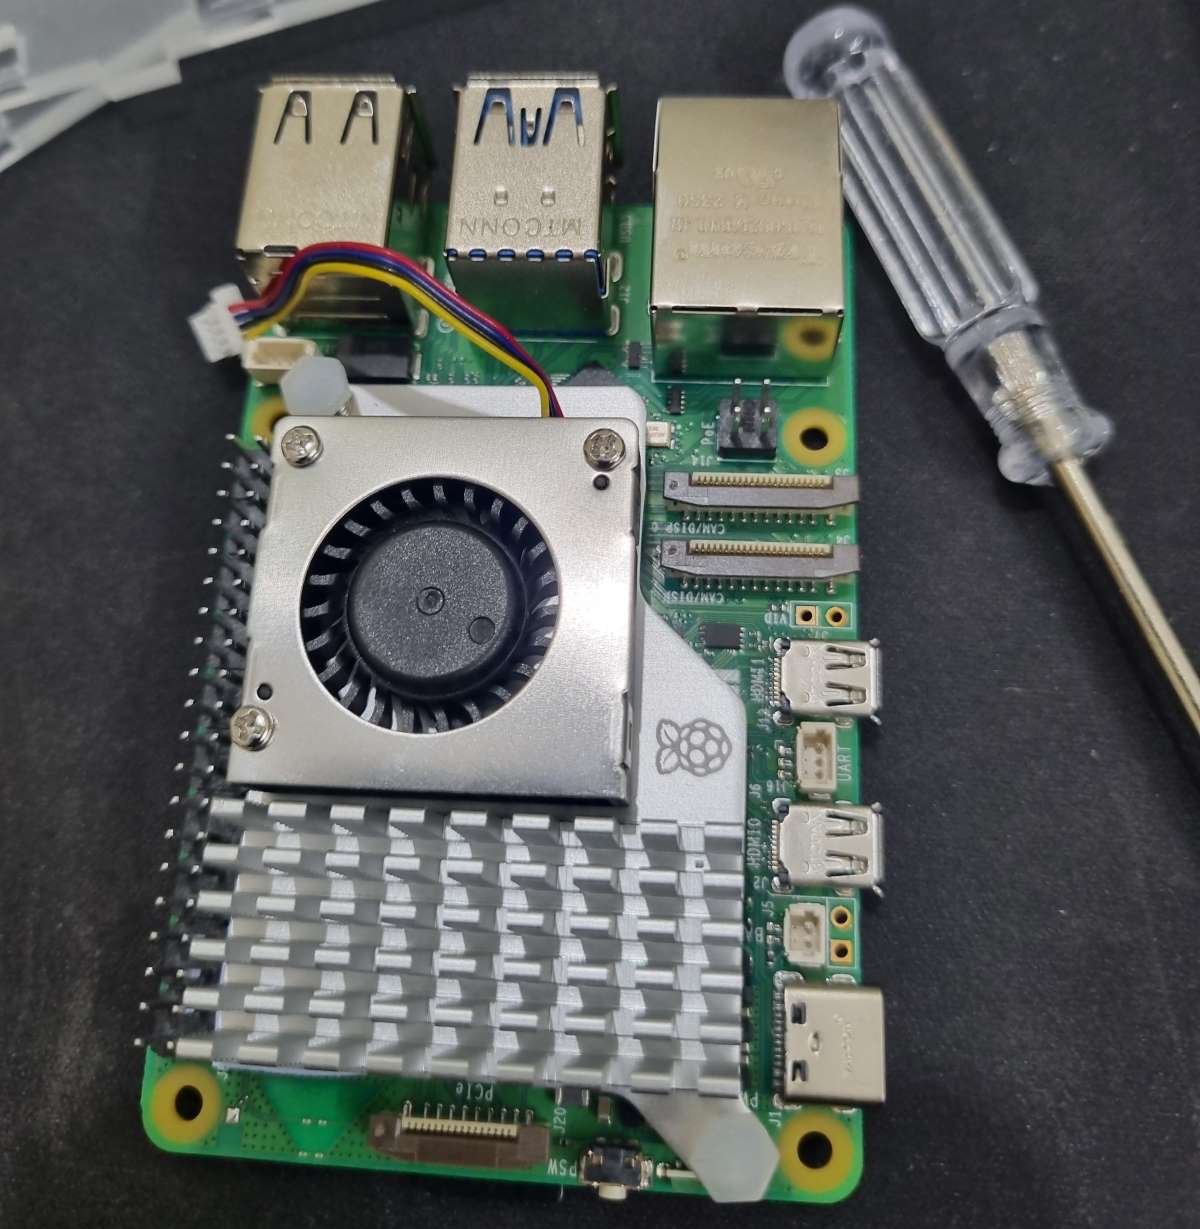 |
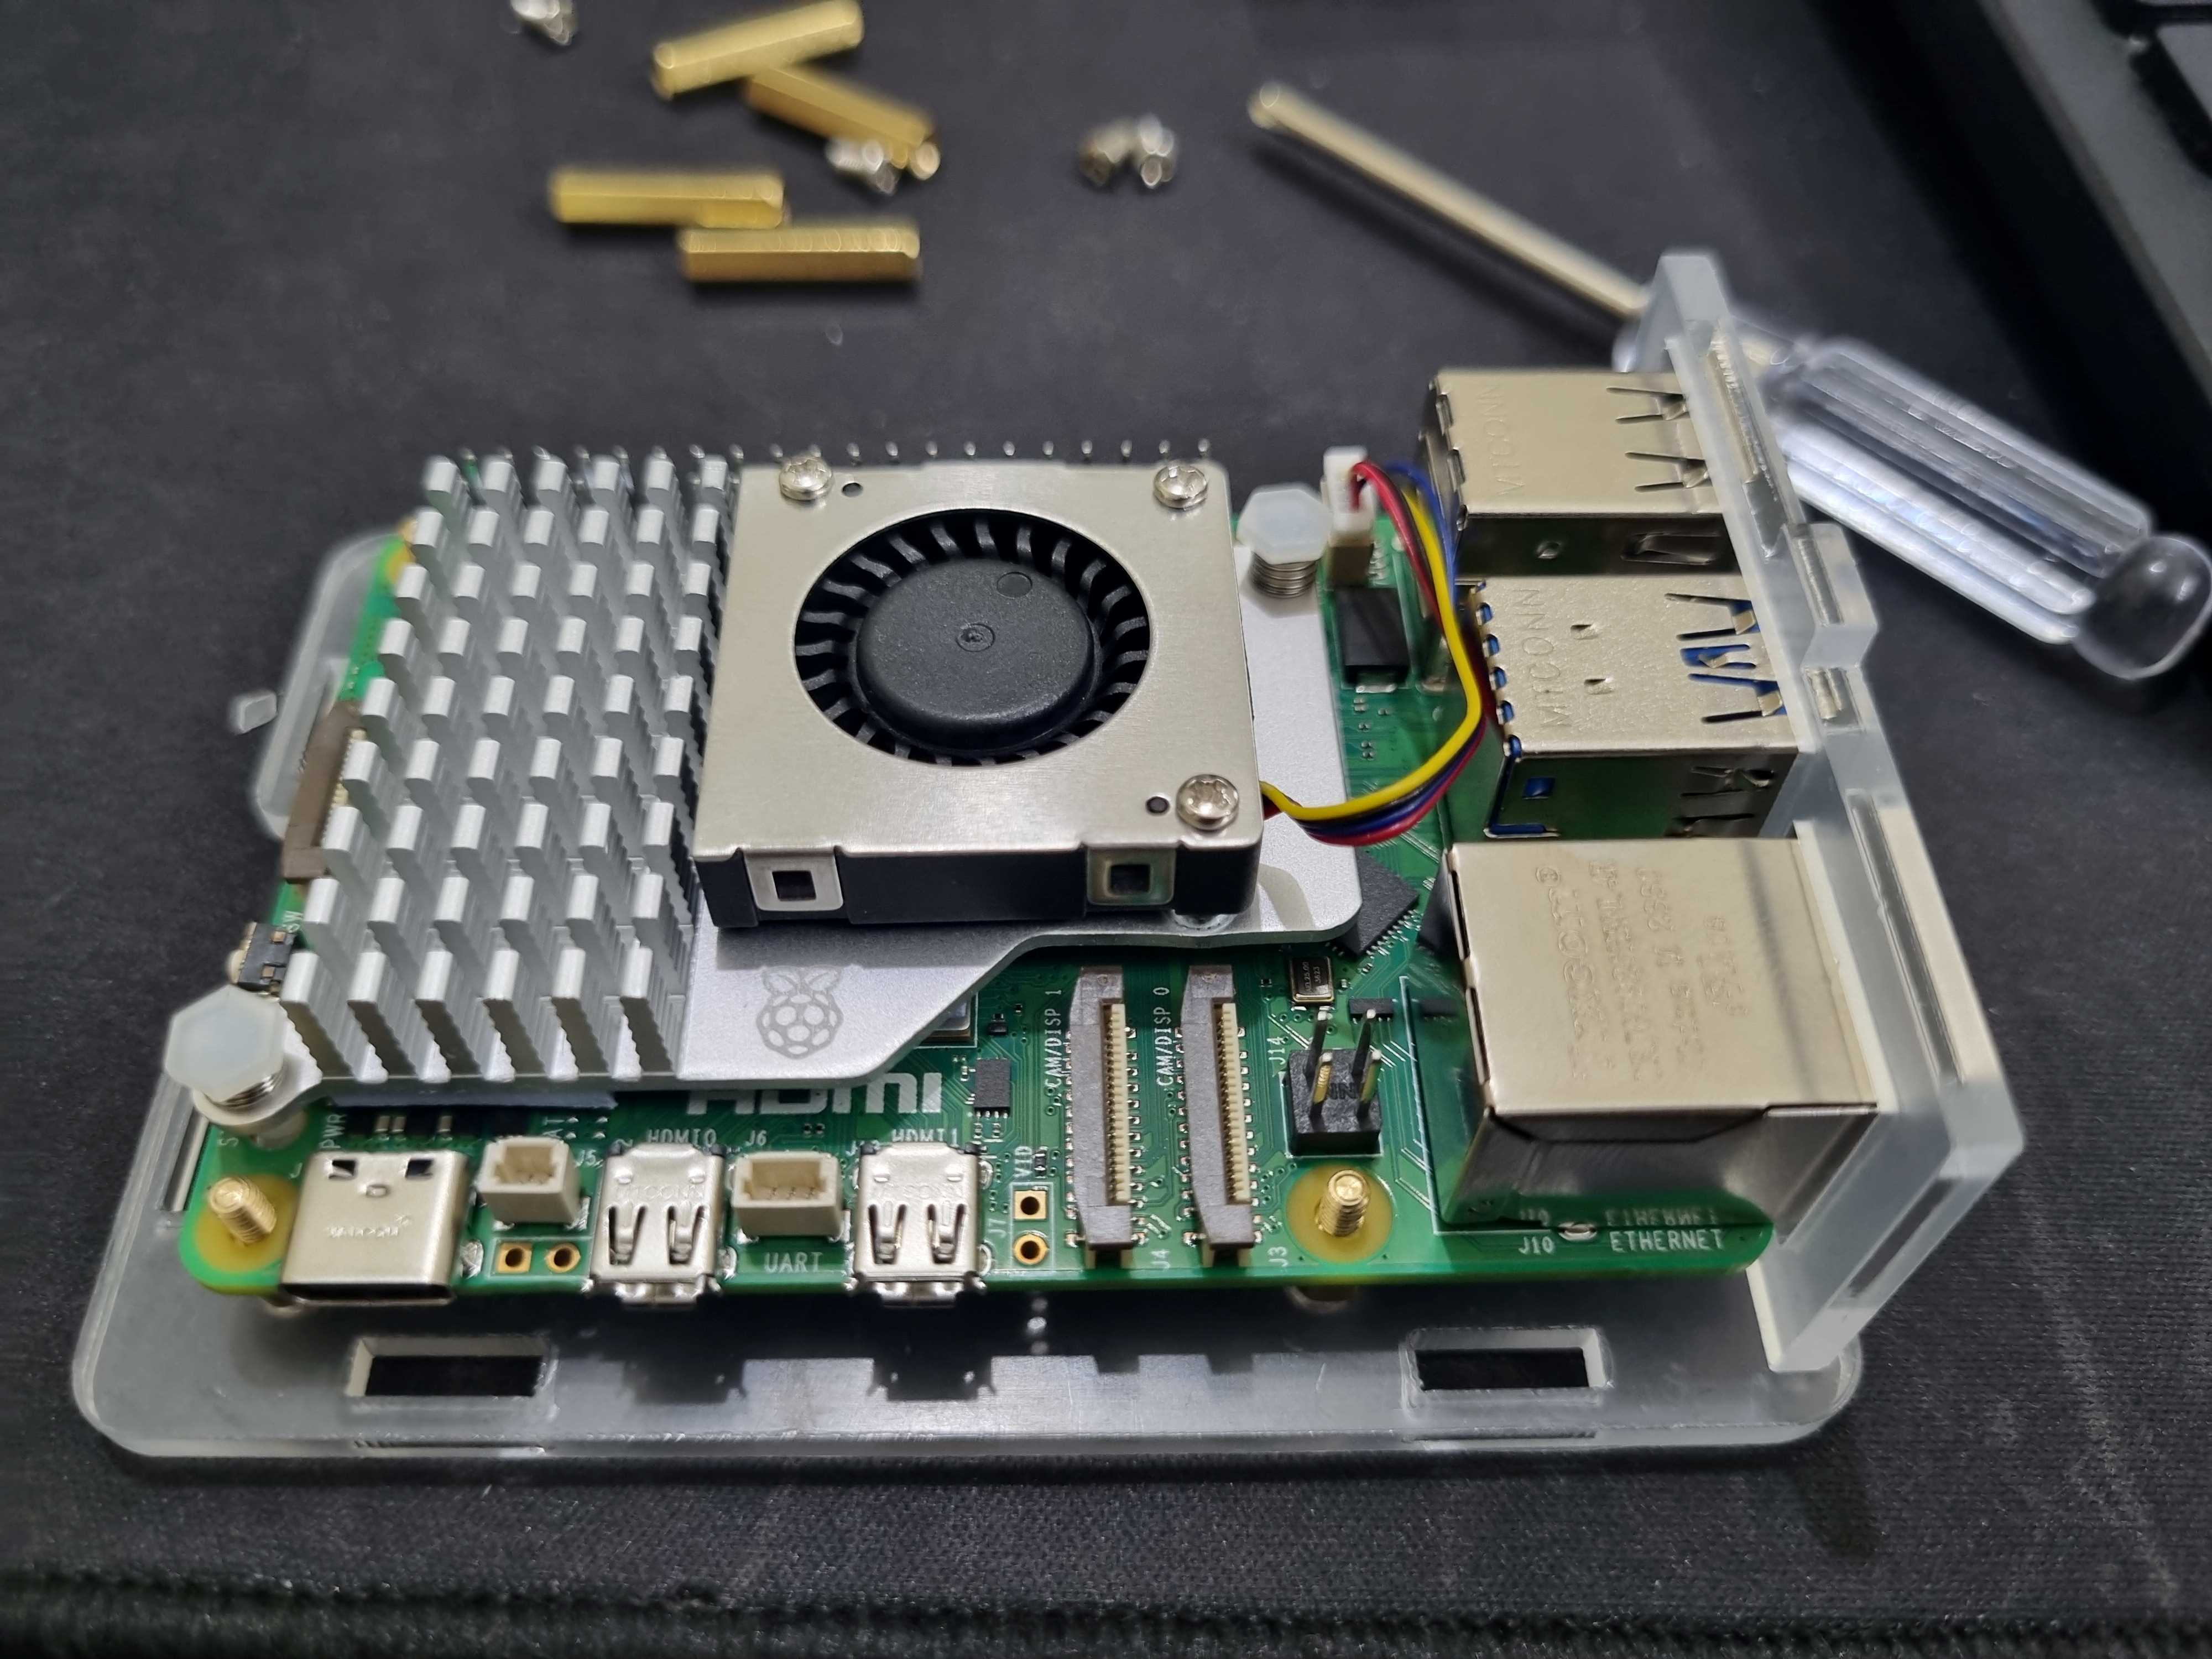 |
| Install the PCIe To M.2 HAT with the preferred SSD (refer to official tutorial) | Close the shell and ensure that the standoff stacks with M.2 adapter well and its sturdy |
|---|---|
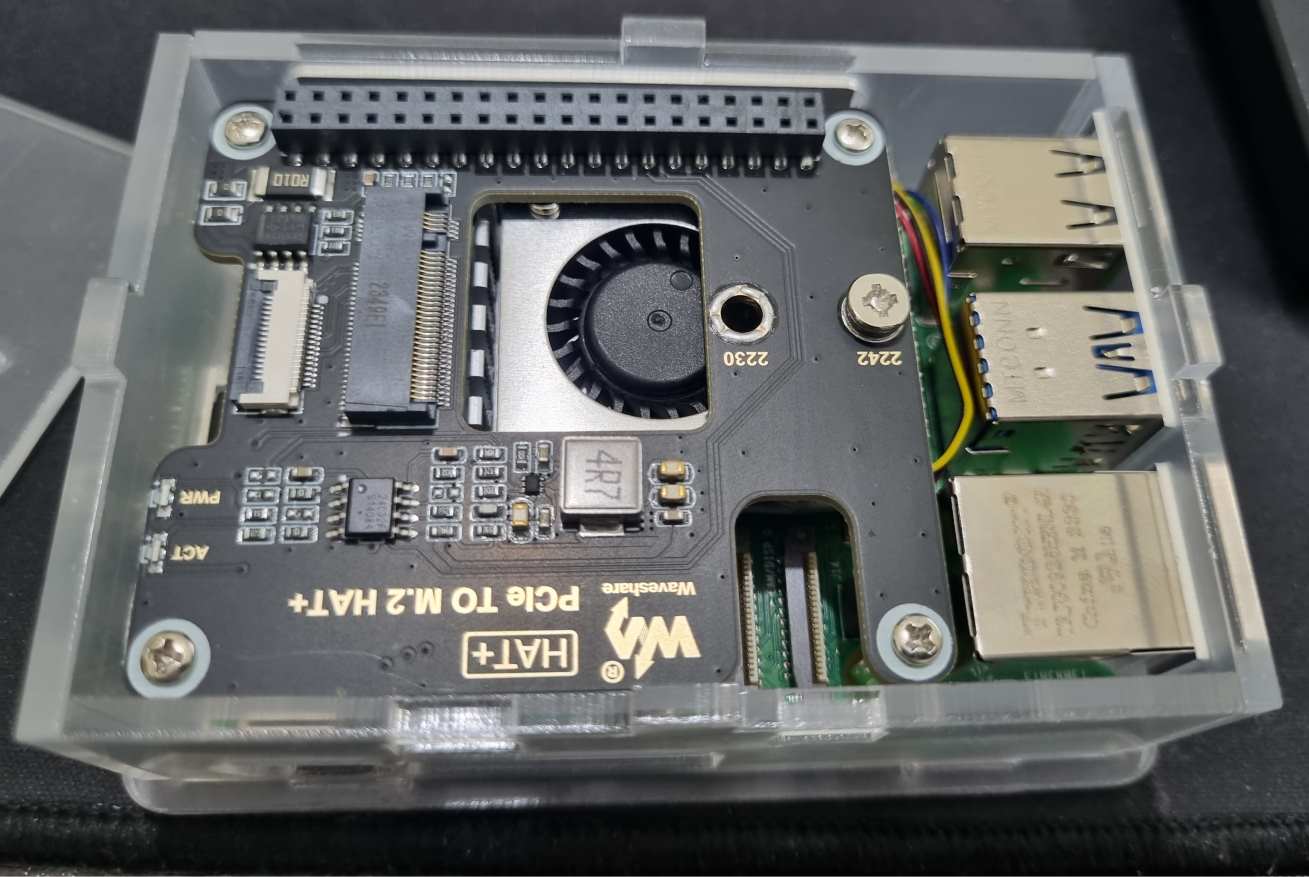 |
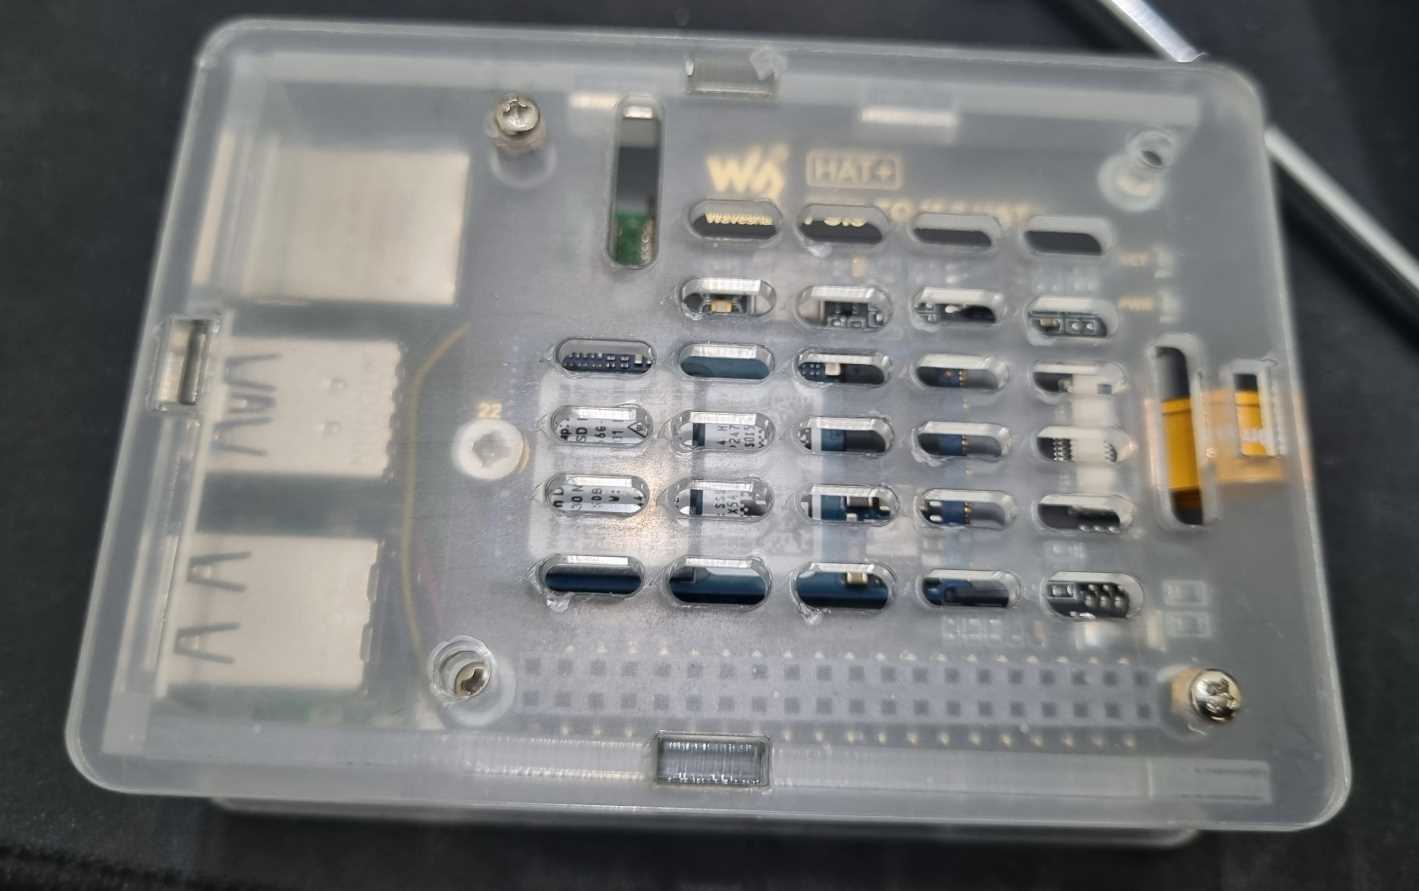 |
Power supply setup
When RPI 5 got launched with 5V 5A USB C PD power requirement, it was quite surprising because 5v 5a is not typical from USB-PD power supplies. But with the official AC adapter and other third party suppliers spawned this custom USB-PD power supply that can negotiate 5.1v 5a and much more specs.
I got one from waveshare as mentioned in BOM.
But still RPi can be powered from 5v 3a which is typically negotiated from a USB-PD power supply, if this happens the USB ports will be power limited to 600ma as opposed to the full 1.6 amps. This can be adequate for most applications.
Raspberry Pi OS setup
With RPi 5 bringing in a PCIe slot, booting from NVMe SSD is going to be direct and easier, rather than using earlier hacks and mods.
There is the official M.2 PCIe HAT and plethora of other third party variants in the market.
I bought a nicer and compact one again from waveshare itself, because I already had a 2242 SSD.
This can be done is many ways with the official Raspberry Pi Imager,
First install the RPi imager,
-
If you can find a way to directly burn the RPi OS to the NVMe SSD, by using NVMe to USB adapter then well and good.
- Else, get a micro SD card and burn the image first on to it.
Lot of things can be pre-configured like the login creds to WiFi creds etc. using the RPi imager. Please configure things as needed.
- Insert the SD card and plug in all the peripherals and click on the power button
- Now, once we are in the RPi desktop, we can either clone the existing image from SD card or we can install a new RPi OS on to the NVMe SSD again using the RPi imager which comes preinstalled in the RPi OS.
- For detailed installation guide refer to this How to Add an SSD To Your Raspberry Pi 5 with the M.2 HAT
- Once the installation or cloning is done, we need to change the boot order
- Open raspi-config tool using
sudo raspi-config - Navigate to Advanced Options > Boot Order and then select NVME/USB Boot
- Open raspi-config tool using
- Option stuff - we can enable the Gen 3 PCIE for faster I/O
- And now we can reboot !
After rebooting it should boot from SSD and the boot speed is clearly observable.